While modeling a table can appear simple as it is a simple shape, Creating a table in Rhino is surprisingly difficult. You shouldn’t have to spend all day playing around with shapes in Rhino to create this simple piece of furniture. At Architecture Genie, we don’t want you to spend unnecessary time falling behind on the other work you have making furniture so we have provided an easy to follow tutorial in this article.
We know that modeling can become overwhelming and missing deadlines due to not modeling a simple shape like a table in time isn’t something we want to happen. Read on to make sure this doesn’t happen to you.
contents
How to create a model of a table in Rhino step by step
Below are the instructions you can take step-by-step in order to make sure you design the right sofa for your model. Be sure to pay attention to everything carefully as you don’t want to miss anything out and end up with an unfinished model. The whole process should take you no longer than 15 minutes, let’s get started!
Step 1: Deciding on the type of table you want to build
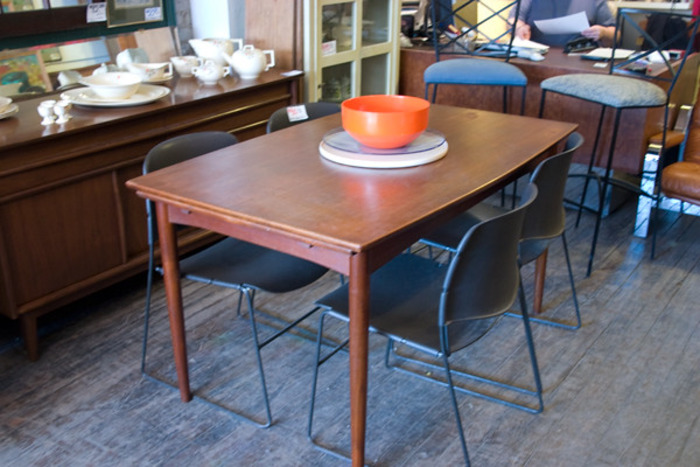
Tables can have a variety of different types of extruded legs and different types of surfaces. For instance, a coffee table would be constructed a lot differently from a dining table. To keep things simple, in this tutorial we will be designing a standard dining table as this is the most common type of table.
Step 2: Create a box
In order to demonstrate the dimensions for the table we’re creating, add in a box that suits the dimensions you’re using for your building. This can vary quite a bit depending on what you’re designing but commonly you can use the desk chair or the other furniture in a building for reference.
Once decided, you can draw the dimensions of the box after doing the “Box” command using the mouse or you can input numerical dimensions into the command line if you want to get more accurate.
Step 3: Create the table top
The “Box” command is again used here to create an overlapping segment that forms the top of the table. It is useful to think of the box created in the previous step as the outline for the entire table that you will base measurements on rather than use for the table design.
Step 4: Create the table leg
Using the same “box” command, hold down shift to create an even square for the base of the table leg and then extrude downwards until you hit the bottom of the first box.
This will enable you to create a table leg that is much like a normal table leg would and be even in width and depth. However, you have to be sure that the Osnap settings (on the bottom of the Rhino canvas) are turned on.
At ArchitectureGenie, we advise you to have at least the “End”, “Near”, “Point” or “Cen” but this is completely up to personal preference and you may find there are other variations that work better for you.
Step 5: Copy and paste the legs
As you would want there to be the same dimensions of table legs for every leg, you would simply need to copy and paste the legs on all four corners underneath the base.
Again, make sure you have the right Osnap commands on to help you (especially “end” and “vertex”). Also, you can use the “Move” command once an object is selected to easily move between points.
Step 6: Scale 1D to create table supports
The first thing you should do when creating a table leg support is copy and paste one of the table legs you have already created and then rotate it 90 degrees so that you have the same dimensions that fit between each leg.
Again, copy and paste a leg, then with the gumball feature, click on a rotating arc and type in “90” then press return to rotate the leg.
(make sure project snap is on)
“Move” the supporting leg into the correct place on one of the legs and after this, type into the command bar “Scale1D” which will allow you to extrude the support.
Step 7: Add details if necessary
Some additional steps you could take include angling the legs of the table so they aren’t exactly 90 degrees or adding in patterns to the table too.
However, this should give you a straightforward and easy to understand overview of how to create a table in Rhino. To view the final table, we changed the viewing settings to Shaded and deleted the outer box that helped with the setting up the dimensions.
What different types of tables can you create in Rhino?
After you have modeled your table, you may want to play around with different types of table designs to make sure you’re able to get the most out of the space you’re designing. This can ensure that the table fits well with the chairs in your space and perhaps even the sofas you have too.
Coffee table modeling in Rhino 3D
Coffee tables are perfect for if you need a smaller table that is lower down to the ground as you only need to support a few small items at a time. This is where the table gained its name from because rather than being used for larger dishes like a dining table, the coffee table is only used typically for small ornaments and beverages ie. coffee.
This kind of table is usually placed in front of a sofa in a living room so can be modeled in Rhino to suit your needs if you are currently designing an indoor space where people lou
Dining table modeling in Rhino
A dining table, unlike a coffee table, is used for serving food and eating meals. Like all tables, it usually has a flat surface that is supported by one or more legs and is usually made to fit into the aesthetic of a kitchen.
There is a wide range of materials that a dining table can typically be made from including wood or other material that tends to be durable. The dining table is typically needed to allow dishes with warm surfaces on it so therefore must be more durable than others.
Depending On the size and style of the kitchen you’re modeling in Rhino, the size and style of the dining table you’re modeling can also change. So, using this information, use it to the best of your ability and create the right type of dining table for you.
When placing the dining room table, consider the lighting it has and where best it is in the room to not obstruct any movement. In the center of a dining room or towards the end up against a wall are typically great places.
If you place the table next to the window, you can also make the space more cozy by drawing the curtains when the building requires more privacy and you don’t want to look outside.
Creating an office desk in Rhino
How detailed you want to create an office desk is up to you as a designer as there is a wide range of desk styles and shapes that suit everyone individually.
As an architect, it may be hard to work out exactly what type of desk you should use in the design of a new building. To work this out, simply look at the client you are designing the desk for and answer the question of who will be using the building.
Will they be students with lots of equipment or are they corporate clients who use the desk for mainly phone calls or making appointments. Gaining an understanding of this is a great way to gauge whether the desk should be designed simply, parametrically or even represent more of a table in general.

